

Pinterest
Pinterest
The Perfect Coffin Shape for Your Next Mani
A Quick and Easy Tutorial
Coffin nails are one of the most popular nail shapes, and for good reason. They're elegant, sophisticated, and can be dressed up or down. Plus, they're relatively easy to achieve at home with a little practice.
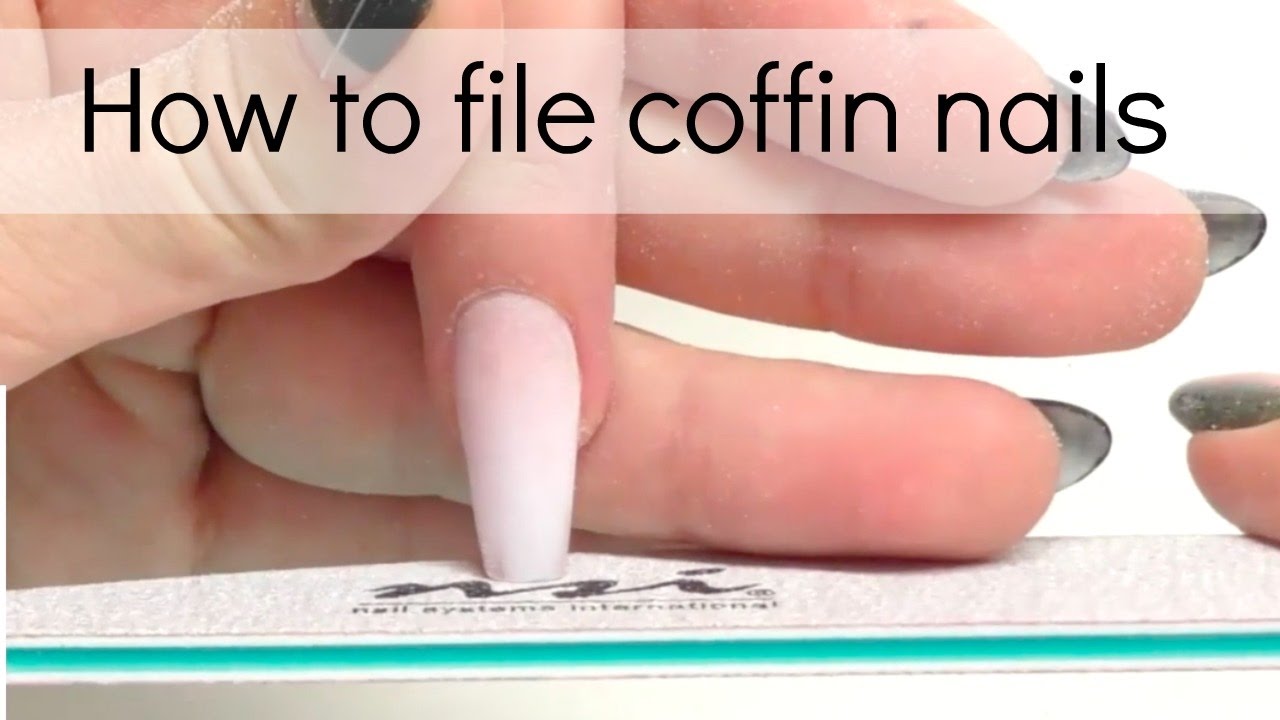
Step 1: Prepare your nails
Start by filing your nails to the desired length. Then, use a nail file to shape the sides of your nails into a coffin shape. The sides should be straight, and the tip should be slightly rounded.
Step 2: Apply a base coat
Once your nails are shaped, apply a base coat to protect them from the polish. Allow the base coat to dry completely.
Step 3: Apply two coats of polish
Next, apply two coats of your chosen nail polish. Allow each coat to dry completely before applying the next.
Step 4: Apply a top coat
Once the polish is dry, apply a top coat to seal in the color and protect your nails from chipping. Allow the top coat to dry completely.
Step 5: Enjoy your new coffin nails!
Now that your coffin nails are complete, you can enjoy their elegant and sophisticated look. They're perfect for any occasion, and they're sure to turn heads.
Tips for achieving the perfect coffin shape
- Use a sharp nail file to get a clean, precise cut.
- File the sides of your nails straight, and round the tip slightly.
- Apply thin coats of polish and allow each coat to dry completely before applying the next.
- Use a top coat to seal in the color and protect your nails from chipping.
Additional tips
- If you're new to coffin nails, start by practicing on a few fake nails before you try it on your own.
- If you're having trouble getting the perfect shape, you can use a nail form to help you.
- Coffin nails can be worn with any length or color of polish.


Comments